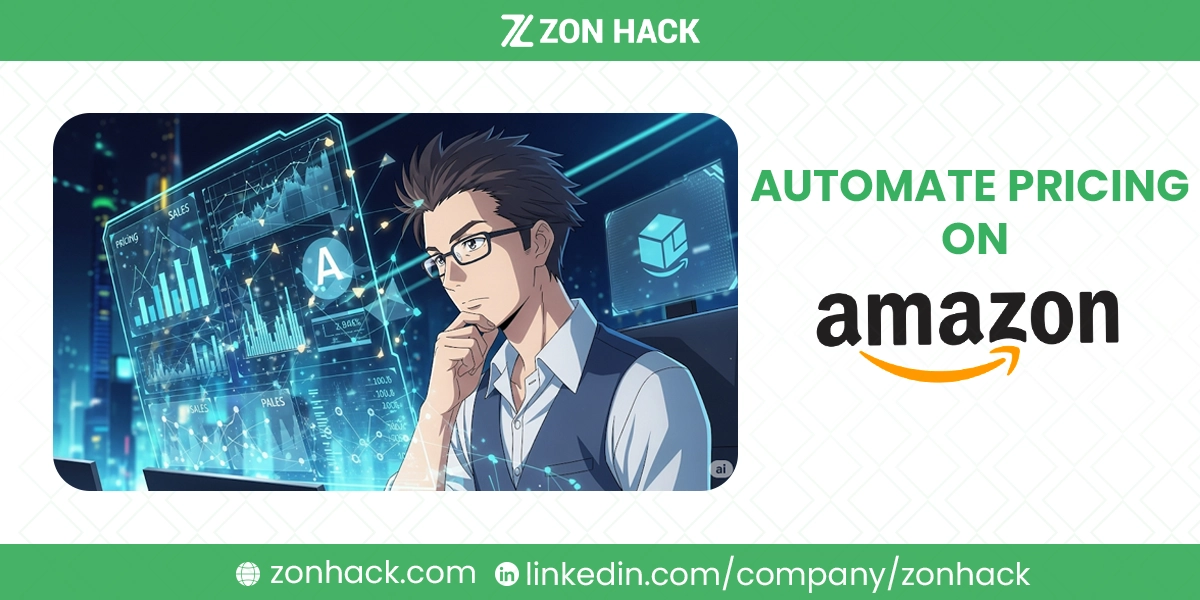
Phew, the Amazon marketplace can feel like a high-stakes game of whack-a-mole, can’t it? One minute you’re riding high with the Buy Box, and the next, a competitor swoops in and snatches it away with a price drop. Keeping up with constant price changes manually? That’s a full-time job in itself, and frankly, who has the time for that kind of stress?
But what if I told you there’s a smarter way to play the game? A way to keep your prices sharp, your products competitive, and your sanity intact. That’s right, we’re talking about automating your pricing on Amazon. It’s like having a super-smart assistant constantly adjusting your prices so you don’t have to lift a finger. Stick around, because I’m about to break down everything you need to know about setting your Amazon pricing on autopilot.
Is Automate Pricing Free?
Let’s get this burning question out of the way first, shall we? When it comes to automating your pricing on Amazon, you’ve actually got a couple of paths you can take, and one of them is indeed free, at least in a direct cost sense.
The good news is that Amazon itself offers a built-in “Automate Pricing” tool right within your Seller Central account. If you’re on a Professional selling plan, this feature is included as part of your subscription. So, you’re not paying an extra fee specifically for this tool. Think of it as a bonus perk for being a Professional seller. This means you can start dabbling in automated pricing without shelling out more cash for external software. However, there are also third-party tools, which typically come with a subscription fee. These often offer more advanced features, but we’ll get into that a bit later. For now, rest assured, Amazon gives you a free starting point!
Steps to Automate Pricing on Amazon
Alright, let’s roll up our sleeves and dive into the practical side of things. Using Amazon’s built-in “Automate Pricing” tool is fairly straightforward once you know where to look. It’s designed to help you stay competitive, especially when it comes to that elusive Buy Box.
Here’s how you can set up your own automated pricing rules:
Log into Seller Central
First things first, you need to be logged into your Amazon Seller Central account. This is your command center for all things Amazon selling. Once you’re in, look for the “Pricing” tab at the top. Give it a click, and then select “Automate Pricing” from the dropdown menu. This will take you to the main hub for setting up your pricing rules.
Create a Pricing Rule
This is where the magic begins! On the “Automate Pricing” page, you’ll see an option to “Create a new pricing rule.” Amazon provides several pre-defined rules that cover common scenarios, or you can create a custom rule for more specific needs.
- Pre-defined Rules: These are great for getting started quickly. For example, you might choose a rule that aims to “Stay below the Buy Box price” or “Stay below the lowest price.” Amazon also has rules based on sales units, which can be super handy if you want to lower your price when sales are a bit sluggish. They’re like ready-made recipes for competitive pricing.
- Custom Rules: If you want more granular control, custom rules are your best friend. Here, you can define conditions based on who your competitors are (e.g., only compete with FBA sellers), their seller ratings, your inventory levels, and even which fulfillment channel they use. It’s like building your own bespoke pricing strategy. You get to decide exactly how aggressive or conservative you want to be.
Set Price Boundaries (Min/Max)
This step is absolutely critical, so pay close attention! Before you let any automated system touch your prices, you MUST set your minimum and maximum price boundaries. Think of these as guardrails for your profits and reputation.
- Minimum Price: This is the lowest price you are willing to sell your product for. This should be calculated carefully, taking into account your cost of goods, Amazon fees, shipping costs, and your desired profit margin. Setting this too low is a recipe for losing money. We don’t want that!
- Maximum Price: This is the highest price you’re comfortable selling your product at. While automated pricing usually aims lower, having a max price prevents any accidental pricing errors from making your item ridiculously expensive (and unsellable!). It’s a safety net to ensure you don’t scare off potential buyers.
Always remember: your automated pricing rules will never go below your minimum price or above your maximum price. These boundaries are your ultimate protection.
Assign SKUs
Once you’ve crafted your perfect pricing rule, you need to tell Amazon which of your products (SKUs) should follow this rule. You can do this individually, product by product, or in bulk if you have a lot of items that fall under the same strategy. Simply select the SKUs you want to assign to the rule. This makes it really easy to apply a specific strategy to a whole category of products or just a select few.
Activate Automated Pricing
With your rules set, your boundaries in place, and your SKUs assigned, the final step is to activate the rule. Just hit that “Activate” button, and Amazon’s system will start doing its thing. It will monitor the marketplace based on your rules and automatically adjust your prices. You’ve officially put your pricing on autopilot!
Monitor and Adjust
Now, just because it’s automated doesn’t mean you can set it and forget it forever. The Amazon marketplace is dynamic, and what works today might need tweaking tomorrow. Regularly check your pricing performance. Are you winning the Buy Box as often as you’d like? Are your profit margins holding up? Are there new competitors with different strategies? Be ready to go back into your rules and adjust your parameters, boundaries, or even create new rules as needed. It’s an ongoing process of optimization.
Third-Party Tools for Automate Pricing on Amazon
While Amazon’s built-in tool is a fantastic starting point, sometimes you need a little more firepower to navigate the wild west of Amazon pricing. That’s where third-party repricing tools come into play. Think of them as the souped-up versions of Amazon’s own tool, often offering deeper insights and more sophisticated strategies.
These tools are like having a team of data scientists constantly analyzing the market for you. They connect directly to your Seller Central account using APIs, allowing them to pull in your product data and push out price changes automatically. Their real strength lies in their advanced algorithms, which can react to market changes in near real-time, often much faster than Amazon’s native tool. Some even use AI and machine learning to predict optimal pricing, not just react to current prices. This can be a game-changer if you’re in a highly competitive niche. They often provide extensive analytics too, showing you detailed reports on Buy Box wins, competitor movements, and how your pricing strategy is performing overall.
Some of the popular names you might hear tossed around include Informed Repricer (formerly Appeagle), Aura, BQool, Seller Snap, and Repricer.com. Each has its own strengths, pricing models, and features, so it’s worth doing your homework to see which one aligns best with your business needs and budget. Yes, they come with a cost, but for many serious sellers, the increased sales, Buy Box wins, and time saved make the investment well worth it.
Key Considerations for Automate Pricing on Amazon
Automating your pricing is a smart move, but like any powerful tool, it needs to be wielded with a bit of wisdom. There are several important factors you should always keep in mind to ensure your automated pricing strategy works for you, not against you.
Minimum and Maximum Prices are Your North Star
I can’t stress this enough: always, always, ALWAYS set your minimum and maximum prices. Your minimum price is your profit protection. It’s the lowest you can go without taking a loss or making a profit so tiny it’s not worth your time. Your maximum price is your reputation protector, preventing you from accidentally listing an item at an absurd price. These boundaries are non-negotiable and form the fundamental safety net for any automated pricing strategy.
The Buy Box is King
Let’s be real, on Amazon, the Buy Box is where the sales happen. Most automated pricing strategies are designed with one primary goal in mind: winning and retaining that coveted Buy Box. Make sure your rules are geared towards this. Whether it’s matching the Buy Box price, going slightly below it, or increasing your price when you hold it, keeping an eye on that golden box is crucial for your sales volume.
Know Your Competitors
Who are you up against? Understanding your competitors is key. Are they FBA or FBM sellers? What are their seller ratings? How quickly do they restock? Some advanced repricers allow you to set rules based on these competitor attributes. For example, you might choose not to compete with a seller who has a significantly lower rating, even if their price is lower. Knowing your competition allows you to be strategic, not just reactive.
Inventory Levels Matter
Your stock levels should absolutely influence your pricing. If you’re overstocked on an item, you might want to temporarily lower your minimum price to move inventory faster. Conversely, if you’re running low on a hot-selling item, you might want your repricer to raise the price a bit to maximize profit before you run out. Integrating inventory data into your pricing strategy can be a powerful lever.
Profit Margins Are Non-Negotiable
Don’t get so caught up in the repricing game that you forget about your bottom line. The goal isn’t just to have the lowest price; it’s to have the optimal price that secures sales while maintaining healthy profit margins. Regularly review your profit reports. Sometimes, it’s better to lose a few sales by maintaining a slightly higher price than to win all the sales at a loss.
Seller Performance is Your Ally
Did you know your seller performance metrics—like your order defect rate, valid tracking rate, and on-time delivery—also play a huge role in Buy Box eligibility? Even if you have the perfect price, poor seller performance can prevent you from winning the Buy Box. Automated pricing works best when combined with excellent customer service and operational efficiency. Keep your metrics in tip-top shape!
Amazon’s Fair Pricing Policy
Amazon has a “Fair Pricing Policy,” and it’s something you need to be aware of. They don’t want sellers gouging customers, especially during times of high demand or crisis. If your automated pricing pushes prices to what Amazon deems “excessive,” they might remove your Buy Box, suppress your listing, or even suspend your account. So, while you’re automating, always keep an eye on what constitutes a “fair” price in the market. It’s about being competitive, not exploitative.
Test, Monitor, and Refine
Finally, automated pricing isn’t a “set it and forget it” solution. The market is constantly changing. What worked last month might not work this month. Regularly review your repricing rules, analyze the data your repricer provides, and be prepared to make adjustments. It’s an iterative process. Keep testing different strategies, monitor the results, and refine your approach to stay ahead of the curve.
Bonus Tips – How to Stop Automate Pricing Feature
Life on Amazon is dynamic, and sometimes, you just need to hit the brakes. Maybe you’re running a special promotion, or perhaps you want to take manual control of your pricing for a specific period. Whatever the reason, knowing how to stop Amazon’s Automate Pricing feature is just as important as knowing how to start it. Good news: it’s pretty straightforward!
To stop Amazon’s Automate Pricing feature, you can either pause or delete the pricing rule you have set up. Here are the steps to do so:
- Log in to your Amazon Seller Central account.
- Navigate to the Pricing tab and select Automate Pricing.
- On the Automate Pricing homepage, locate the pricing rule you want to stop.
- To temporarily stop automated pricing, pause the rule by selecting Take Action > Pause rule. This will keep your prices fixed at the last automated price. The pause can take up to one hour to apply to all SKUs assigned to the rule.
- To permanently stop automated pricing, delete the pricing rule by selecting Take Action > Delete rule. This removes the rule and all its associated SKUs from automation.
- Confirm your action when prompted.
And just like that, you’re back in manual control or ready to set up a whole new automated strategy!


