Videos are one of the most powerful tools for selling products online. On Amazon, listings with videos can generate 2.5 times more purchases than those without. Customers are more likely to buy when they can see a product in action rather than just relying on images or text.
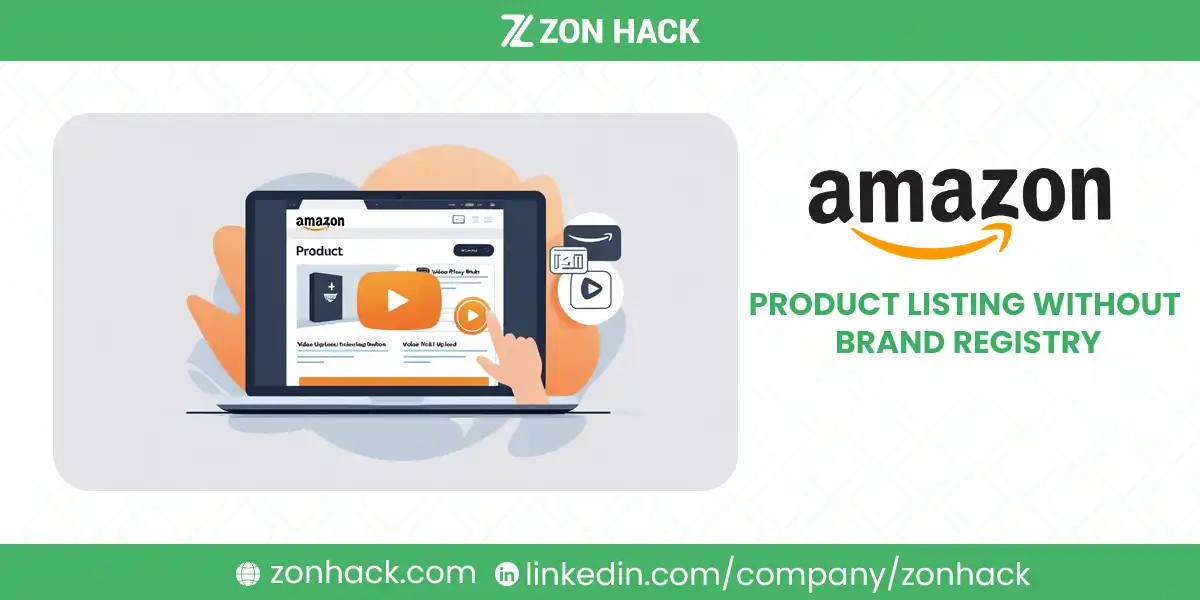
Many sellers believe that only Brand Registered sellers can upload videos to their listings, but that is not entirely true. There are multiple ways to add videos to your Amazon product listing without Brand Registry.
Today we’ll explain how to upload videos without Brand Registry, the best practices to follow, and how to troubleshoot common issues.
Do You Need Brand Registry to Add Videos?
One of the biggest myths about Amazon is that you need Brand Registry to upload videos to a product listing. While Brand Registry does make the process easier, there are several alternative methods for non-brand-registered sellers to add videos.
Amazon allows videos in different sections of a product listing, such as:
- Main product image section (Usually requires Brand Registry or special permissions)
- “Videos related to this product” section (Open to all users)
- Customer review section (Anyone can add videos as part of a review)
If you don’t have a registered trademark or access to Brand Registry, you can still add videos using these methods. Let’s explore each one in detail.
Methods to Add Videos Without Brand Registry
1. Uploading to the “Videos Related to This Product” Section
This method is the easiest way to get videos on your Amazon listing without Brand Registry.
Amazon allows any Amazon account holder—including buyers, influencers, and even sellers—to upload videos under the “Videos related to this product” section.
However, sellers cannot upload directly from their seller account. Instead, you can ask:
- Friends or family members to upload the video for you.
- Customers who have purchased the product to share their experience.
- Influencers or affiliates to create and upload a video.
How to Upload:
- Log in to Amazon (any buyer account, not a seller account).
- Go to the product listing where you want to add a video.
- Scroll down to the “Videos related to this product” section and click “Upload Your Video.”
- Select the video file, add a title, and describe what the video is about.
- Submit for approval—Amazon may take 24-48 hours to review it.
The uploaded videos appear in the related videos section and help increase engagement, improve conversions, and even boost SEO for the product.
💡 Tip: When uploading, include relevant keywords in the video title. This can help with Amazon’s search ranking and visibility.
2. Adding Videos in the Customer Review Section
Amazon allows customers to attach videos to their reviews. If a customer uploads a high-quality video, it can provide social proof and convince more buyers to purchase.
However, using friends or family to post fake reviews with videos is risky. Amazon has strict guidelines against review manipulation.
If Amazon detects a pattern of fake reviews, your listing could get flagged or even removed.
A safer approach is to encourage real buyers to leave video reviews by:
- Following up with them through Amazon’s Buyer-Seller Messaging.
- Offering great customer service, which naturally increases review chances.
- Using Amazon’s “Request a Review” feature, which prompts buyers to leave a review.
3. Hiring an Amazon Vendor to Upload the Video
Another lesser-known trick is hiring Amazon vendors who have the ability to upload videos directly to the main product image section, even if you are not Brand Registered.
Vendors have access to A+ Content Manager, which allows them to add videos in prime locations.
Where to find vendors offering this service?
- Freelance platforms like Fiverr or Jungle Market
- Amazon service providers who specialize in listing optimization
When hiring, clarify:
- Where the video will be placed (Main image section or related videos?)
- How long the video will stay live
- What guarantees the vendor provides
Expect to pay $50-$500 depending on placement, service provider, and quality.
4. Uploading via Amazon Seller Central (If Eligible)
Amazon has recently allowed some non-brand-registered sellers to upload videos directly through Seller Central.
To check if this feature is available for you:
- Log in to Seller Central.
- Navigate to “Catalog” > “Upload & Manage Videos”.
- Click “Upload Video” and follow the steps:
- Select the file
- Enter the video title
- Associate the ASIN(s)
- Upload a thumbnail (optional)
- Click Submit and wait for Amazon’s review.
Not all sellers will have access to this feature. If you don’t see the option, you can try the other methods mentioned above.
Amazon’s Video Requirements and Guidelines
Amazon has strict guidelines for product videos. If your video doesn’t meet the criteria, it won’t be approved.
Technical Requirements
| Specification | Requirement |
| File Format | MP4, MOV |
| Max File Size | 5 GB (some sources say 500 MB) |
| Resolution | 1920×1080 (Recommended) |
| Aspect Ratio | 16:9 |
| Video Length | 6 to 45 seconds (Shorter is better) |
| Frame Rate | 30 FPS or lower |
| Codec | H.264 (Recommended) |
Content Restrictions
- No external links or website mentions.
- No misleading claims (e.g., “#1 Product” without proof).
- No aggressive sales language like “Buy Now!”
- Audio must match the local Amazon marketplace language.
Amazon reviews each video manually. If your video gets rejected, you will need to fix the issue and re-upload.
Video Optimization for Better Engagement
1. Create an Attention-Grabbing Video
A great video should:
- Show how the product works.
- Highlight key features and benefits.
- Use clear, high-quality visuals.
- Keep the message simple and to the point.
💡 Tip: The first 5 seconds are crucial—grab attention fast!
2. Use a Custom Thumbnail
Amazon might auto-generate a random thumbnail, which may not look good. Instead, upload a custom thumbnail with:
- A clear product image
- High contrast and readable text
- A call-to-action (optional)
3. Optimize the Video Title
- Keep it clear and descriptive (e.g., “How to Use [Product Name]”).
- Include target keywords for better searchability.
- Avoid clickbait or vague titles.
Troubleshooting Video Upload Issues on Amazon
Even when following Amazon’s guidelines, videos sometimes fail to upload or don’t appear in the product listing. Below are common issues and solutions to help resolve them.
1. Video Not Approved by Amazon
If your video gets rejected, Amazon will typically send an email explaining the reason. Common causes include:
- Violation of Amazon’s content policy – Avoid external links, pricing mentions, or misleading claims.
- Poor video quality – Low resolution or poor lighting can cause rejection.
- Incorrect file format – Amazon only accepts MP4 and MOV.
- Unclear product representation – The product in the video must match the ASIN.
Solution:
- Review Amazon’s video content guidelines and correct any violations.
- Improve video quality by using proper lighting, stabilization, and a clear script.
- Trim unnecessary content to keep the video short and engaging.
- Re-upload and wait for review.
2. Video Upload Option Not Available in Seller Central
If you do not see the “Upload & Manage Videos” option under Catalog, your seller account may not be eligible.
Solution:
- Check if your account has been active for at least 90 days with a good seller rating.
- Try different upload methods such as using a vendor or uploading via the “Videos related to this product” section.
- Contact Amazon Seller Support and request video upload permissions.
3. Uploaded Video Not Appearing on the Listing
Sometimes, a video is successfully uploaded but does not show up on the product page. This could be due to:
- Amazon’s review process still pending (it can take up to 72 hours).
- Video not associated with the correct ASIN.
- Cache issues—your browser may not reflect recent updates.
Solution:
- Wait 24-72 hours before taking further action.
- Double-check the ASIN and re-upload if necessary.
- Clear your browser cache or check the listing in incognito mode.
Best Practices for High-Performing Amazon Product Videos
Adding a video is just the first step. To maximize its impact, focus on optimization, engagement, and conversions.
1. Structure Your Video for Maximum Impact
A well-structured video should follow this format:
- Hook (First 5 Seconds): Grab attention quickly with an engaging start.
- Product Showcase (10-20 Seconds): Highlight key features and unique benefits.
- Demonstration (10-20 Seconds): Show the product in action or compare it to alternatives.
- Call to Action (Final 5 Seconds): Reinforce why customers should buy.
💡 Example: If selling a portable blender, start with a quick smoothie-making shot, then highlight its features like USB charging and powerful blades before ending with a call-to-action like “Perfect for travel—order now!”
2. Use Captions and On-Screen Text
Many Amazon shoppers watch videos without sound. Adding text overlays and captions helps them understand the message even if the audio is off.
- Keep text clear, bold, and to the point.
- Highlight key benefits, not just product specs.
3. Optimize for Mobile Viewers
More than 70% of Amazon shoppers browse on mobile devices.
- Use close-up shots to ensure details are visible on small screens.
- Avoid tiny text or complex visuals that might not be readable on mobile.
4. Leverage Multiple Videos for Different Purposes
Amazon allows multiple videos in the related videos section. Using a mix of video types can increase conversions.
| Video Type | Purpose | Example |
| Product Demonstration | Shows how to use the product | A step-by-step guide on assembling a standing desk |
| Feature Highlight | Focuses on unique selling points | Explaining the waterproof technology in a jacket |
| Comparison Video | Compares the product to competitors | Showcasing why your fitness tracker is better than others |
| Customer Testimonials | Builds trust with real user reviews | A buyer talking about their experience with a kitchen appliance |
Frequently Asked Questions (FAQ)
1. Can I add videos to an Amazon listing without Brand Registry?
Yes. You can upload videos via the “Videos related to this product” section, customer reviews, or by hiring a vendor to upload on your behalf.
2. How long does it take for Amazon to approve videos?
Amazon typically reviews videos within 24-72 hours. If it takes longer, you can contact Seller Support.
3. Can I use the same video for multiple ASINs?
Yes, but you need to associate the video with each ASIN when uploading.
4. What happens if my video is rejected?
Amazon will notify you via email with a reason. Fix any issues and re-upload.
5. Is it worth paying for a vendor to upload a video?
It depends. If you lack Brand Registry, hiring a trusted vendor can be a shortcut. But always verify their credibility before paying.
Bottom Line: Maximize Sales With Videos
Navigating eCommerce marketplaces like Amazon, Walmart, Etsy, and eBay can be overwhelming, especially when it comes to optimizing product listings, managing PPC campaigns, handling logistics, and ensuring compliance with marketplace policies.
ZonHack provides end-to-end solutions to help sellers launch, grow, and scale their businesses effectively. Whether you need product research, listing optimization, A+ content, or full account management, their data-driven approach ensures you stay ahead of the competition. With services like FBA Accelerator and Dropshipping Starter, ZonHack simplifies the complexities of selling online.
If you’re looking for expert strategies to increase sales, improve rankings, and maximize ROI, ZonHack can be your trusted partner in eCommerce success.